Introduction to Static Website Forms
Learn to create static website forms using HTML, CSS and FabForm


Disclaimer: This is a sponsored article by FabForm. I will not be responsible for any inconvenience to you.
What is FabForm
Are you a beginner web developer or an online entrepreneur looking for a simple way to build your email list? Building a static website forms is indeed a daunting task. You have to take care of every aspect of the website.
But with the advancement of technology and thanks to the no-code movement, things are getting simpler with each passing day.
Static website forms is one such backend technology that can process and store all of your client data that is passed through the form. Not just that it comes with an anti-spam feature to protect your database from bots pushing data in your forms.
Get notification directly through customized mail whenever a client pings you. All the queries are listed in one place in your FabForm Universal Inbox and the data can be exported to other sites as well such as Airtable, and Google Sheets.
How do I get started
Okay now, let's get started on building your own form backend in just 6 simple steps!
(i). First, you need to create an account with the FabForm website and verify your new account through the link provided in the mail.
(ii). Then log in and your first screen will look something like this:
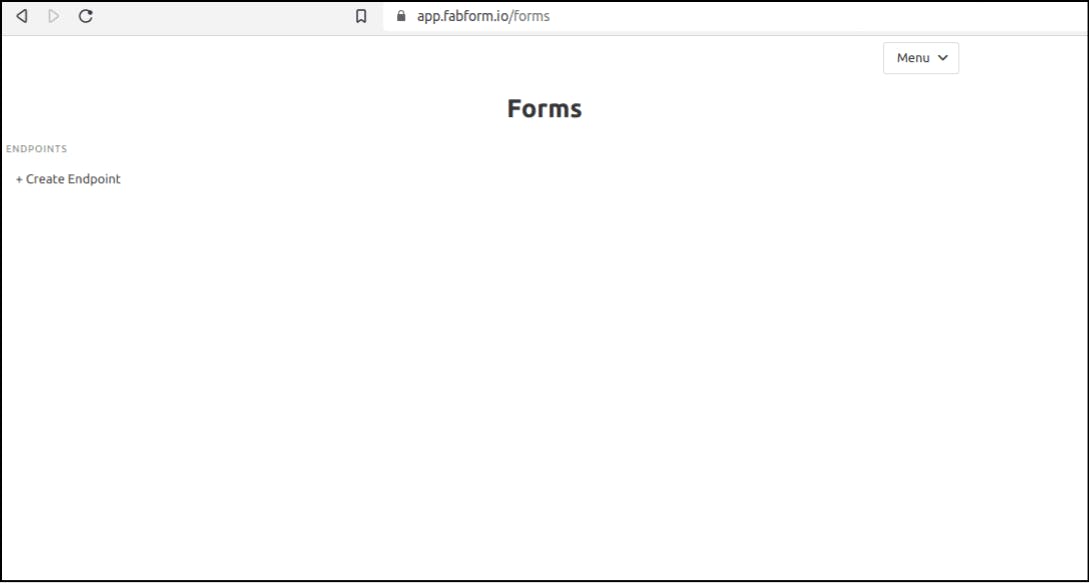
(iii). Click on the '+ Create Endpoint' button to name a new endpoint
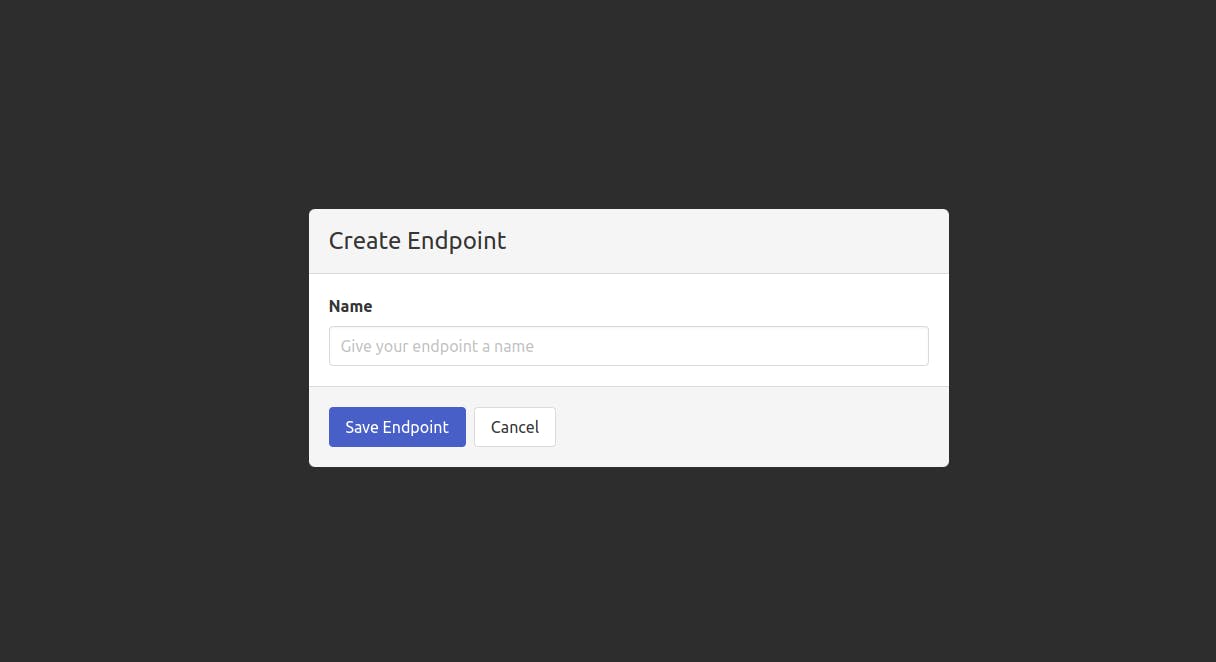
(iv). You will get your endpoint displayed on the screen as it is in the picture below:
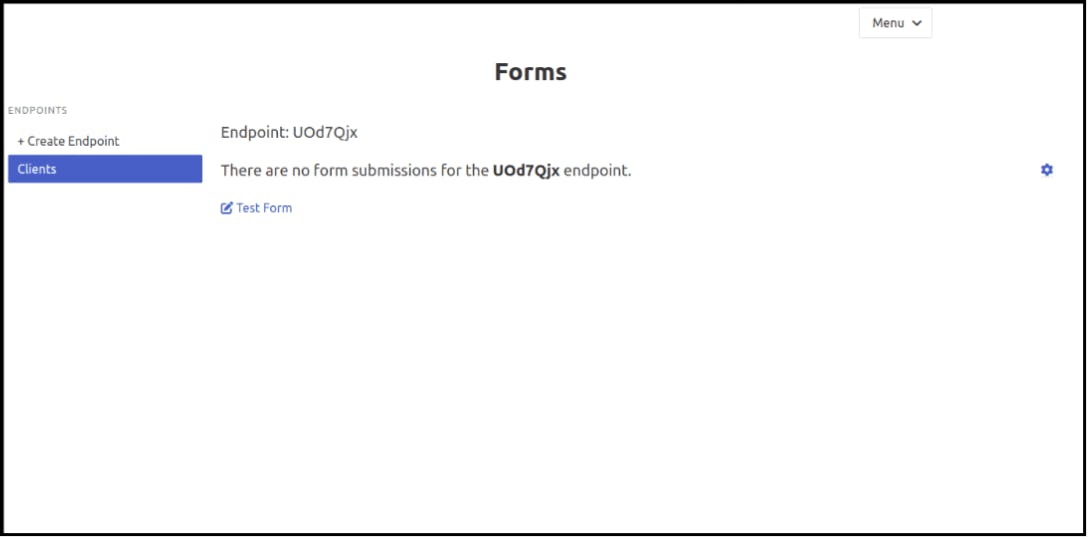
As in my case, the endpoint is "UOd7Qjx" but your endpoint will be different.
(v). Copy the endpoint and paste it into your code in this format:
<form action="https://fabform.io/f/{YOUR_ENDPOINT}" method="post">
      <fieldset>

                    // Your form goes here

      </fieldset>
</form>
The action attribute must be equal to "fabform.io/f{YOUR_ENDPOINT}" and the method attribute is 'post' as it is in the sample code.
(vi). Publish your code and get all the data in your universal inbox.
That's it! This is what you can get in a few clicks here and there!
Get data in your Inbox
Opt-in to receive the data straight in your mail inbox. Yes, There is an option to get the data fields along with their values in JSON format through the email service by FabForm. You need to put the target email (the mail in which you want to receive the data) in this field.
Friendly Remainder: If you are looking for any additional settings then click on the tiny cog icon on the right side to set all the endpoint settings
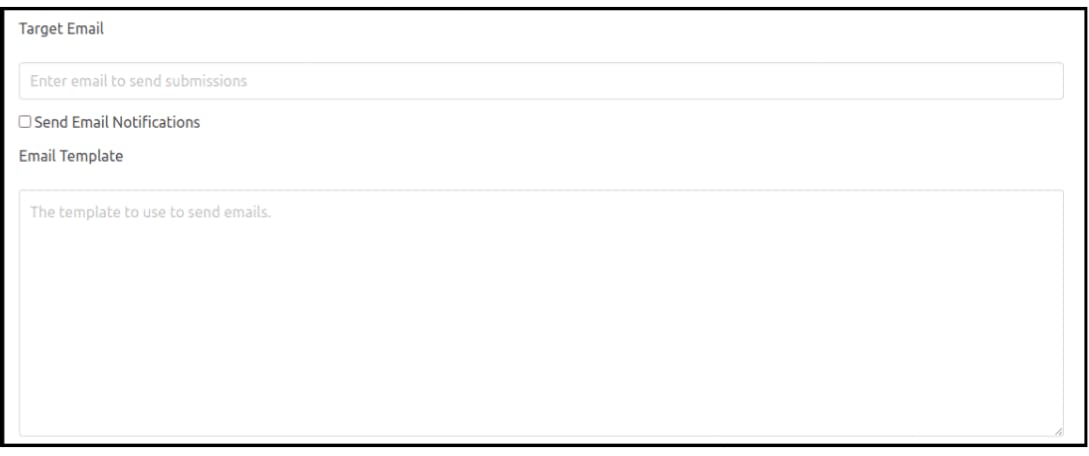
Through Email Template, you can customize the notification which you get when a new client submits his information by site form. Tick the 'Send Email Notification' checkbox and the static website form begins sending notifications automatically.
Anti-Spam and URL Redirect
Spamming can be prevented by not allowing the bots to fill out forms is not something new but essential spam blocking feature is a must for all forms nowadays. Tick the last checkbox to get captcha tests at end of form submission.

Many times you want to give your email subscriber an eBook or video tutorial as a gift for supporting your email list. You can put the URL of that page in the 'Redirect URL' field and that's it. After submitting the form the user will be redirected to that URL.
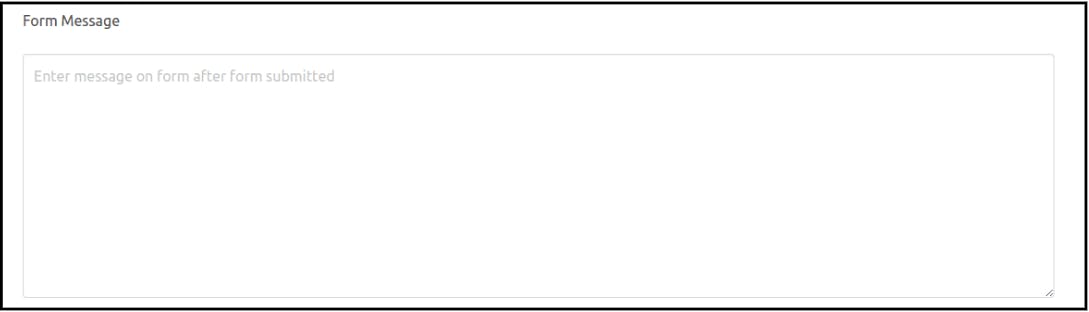
Form message is the customized text message that gets displayed after the submit button is pressed and all the processing is done.
Push data to Google Sheets
Another feature that comes in handy is getting the data pushed directly from static website forms to google sheets. So, you can do multiple operations on it or simply export the submission in CSV format.
Here is how you can do that:
(i). Open the sheet in which you want to record all the data and then get the google sheet ID as I have done in the picture below
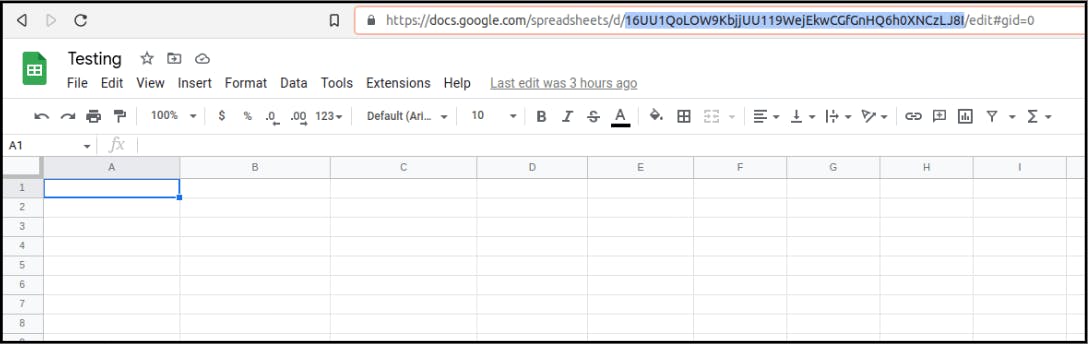
Your google sheet ID is "..../d/ {YOUR_SHEET_ID} /edit..." and make sure you don't include forward slashes in your sheet ID.
(ii). Put the sheet ID in that field and save the endpoint settings.

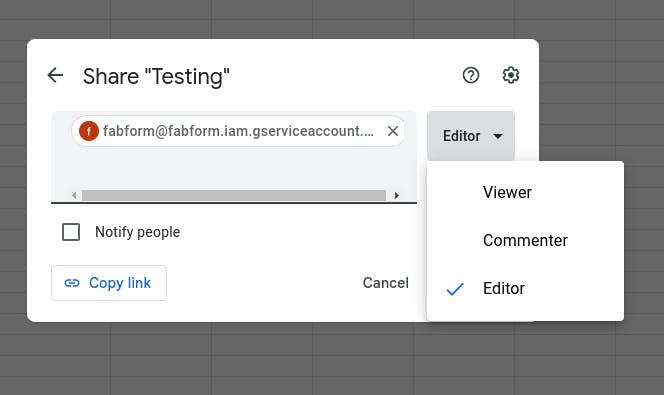
(iii). Go to your sheet and click on the green 'Share' button in the top right corner beside your profile picture. Type ''fabform@fabform.iam.gserviceaccount.com" in that search field and press enter.
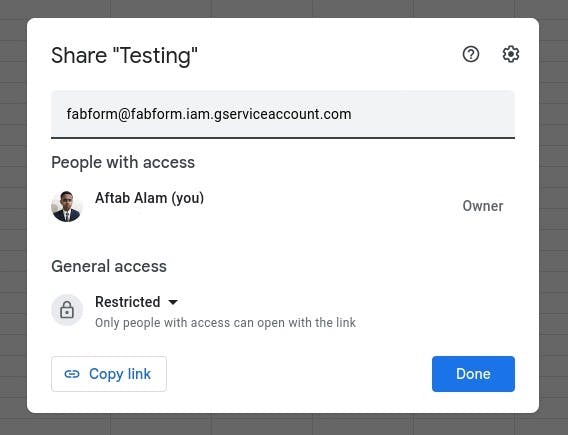
(iv). Select "Editor" from the drop-drop list and click on share button
You are done! Google Sheets will get updated whenever a submission is submitted.
This below is a live demonstration of a sample static website form made using HTML, CSS and using FabForm as backend for storing form data.
Try out the free tier FabForm to build static website forms and store up to 500 submissions at no cost!
That's it for today! If you liked this article, share it with your friends too :)